Maintaining your vehicle on expedition is not the same as servicing at home: seven checks that keep you moving
 Save
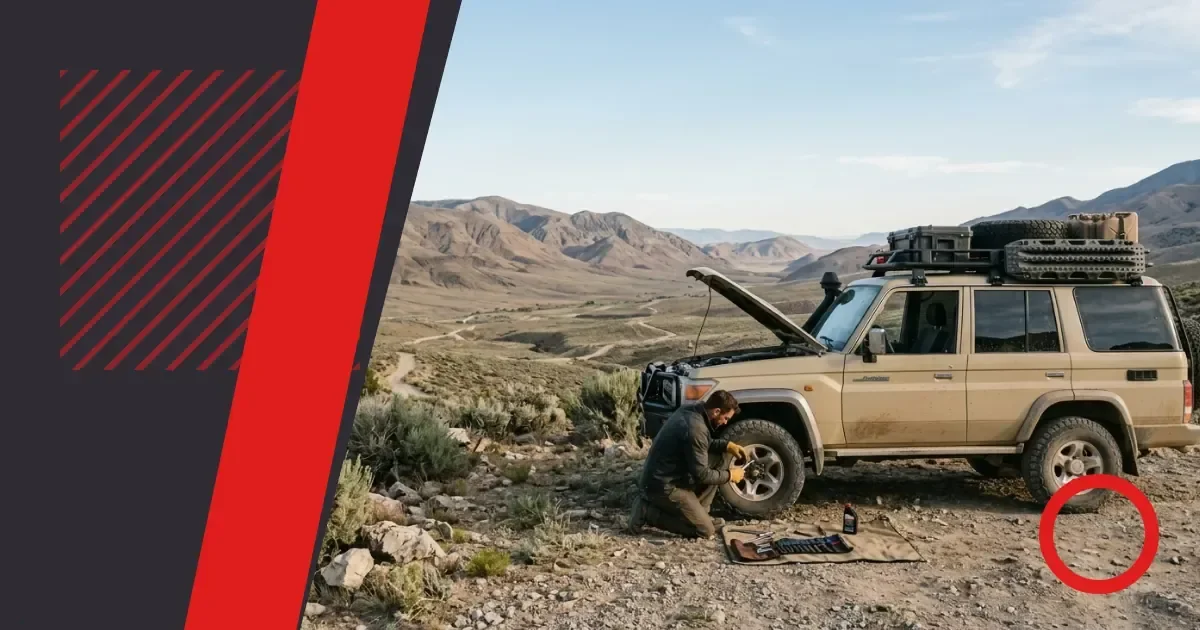
Maintenance on a long overland journey differs from servicing at home because the vehicle works harder, parts wear faster, and workshops appear less often. The distance between reliable help means you carry out checks yourself and decide when to seek a mechanic. Cox Morgan Overland breaks down the field-serviceable tasks, what spares and tools to take, and how to judge whether a problem needs attention now or can wait.
Check fluids and filters between long stretches
Engine oil, coolant, brake fluid and power-steering fluid levels drop faster under load. Dust clogs air filters, and fuel filters trap sediment in places where fuel quality varies. Checking these between long stretches catches small losses before they become failures.
Carry spare engine oil rated to the manufacturer's specification, at least two litres beyond a full refill. Bring a spare air filter and one fuel filter. Check engine oil every other refuelling stop; top up if the level sits below halfway on the dipstick. Inspect coolant when the engine is cold; a slow leak shows as a drop over several days. Brake fluid should sit at the maximum mark; a fall means a leak somewhere in the system, and you stop to find it.
What dust does to an air filter
A clogged air filter restricts airflow into the engine, which reduces power and increases fuel consumption. Tap the filter on a hard surface to dislodge loose dust, or replace it when tapping no longer clears the pleats. In very dusty conditions, inspect the filter daily.
Inspect tyres and check pressures to match the ground
Tyres lose pressure slowly through permeation and faster through small punctures. Correct pressure for the load and terrain improves traction and prevents sidewall damage. Carry a reliable gauge, a pump or compressor, and a puncture-repair kit that includes plugs and patches.
Check pressures cold, before the day's drive. Lower pressure on soft ground increases the contact patch; higher pressure on hard surfaces reduces rolling resistance. Inspect tread depth and sidewalls for cuts, bulges or embedded stones. Remove anything lodged in the tread before it works deeper.
A slow puncture can be repaired with a plug if the hole is in the tread and smaller than the width of your little finger. Sidewall damage and large punctures need a spare fitted. Rotate the spare into regular use so it wears evenly with the others.
Listen to the vehicle and act on changes in sound or feel
New noises, vibrations or handling changes signal wear or damage. A clunk from the suspension, a whine from the transmission, or a pull to one side under braking all mean something has shifted or broken. Catching these early prevents a roadside failure.
A rhythmic squeak from the suspension often comes from a worn bush or a dry joint. Grease the joints at each major stop. A grinding noise when turning suggests a CV joint has lost its lubricant; check the gaiter for splits. A vibration at speed points to an out-of-balance wheel or a bent rim; inspect the wheels and swap the spare in to test.
When a noise means stop now
A loud knock from the engine, a sudden loss of power, or smoke from under the bonnet means you pull over immediately and turn the engine off. Continuing risks catastrophic damage. Let the engine cool, then check oil and coolant levels. If both are correct and the problem persists, the vehicle needs a workshop.
Carry the tools and spares that let you fix common problems
The tools and parts you bring determine what you can repair in the field. A comprehensive kit covers routine tasks and the failures most likely to stop you. Weight and space limit what you carry, so prioritise items that solve multiple problems or prevent a long wait.
- Spanners and sockets to fit every fastener on the vehicle, including the wheel nuts and the sump plug.
- Cable ties, hose clamps and self-amalgamating tape to secure or seal temporarily.
- Spare bulbs for headlights and indicators, fuses for every circuit, and spare belts for the alternator and water pump.
- A full-size spare wheel, not a space-saver, inflated to the correct pressure.
- Engine oil, coolant, brake fluid, and grease for the chassis.
- A roll of wire, a length of fuel hose, and a container for draining fluids.
Add parts specific to your vehicle's known weaknesses. If the alternator belt has broken before, carry two spares. If the fuel pump is electrical and mounted externally, bring a replacement. Ask other travellers who run the same model what they pack.
Find workshops before you need them and ask other travellers
Locating a competent mechanic in an unfamiliar place takes time. Start the search before something breaks, and use recommendations from people who have already been there. Workshops that service local commercial vehicles often have the skills and tools for older four-wheel drives.
When you reach a town, ask at fuel stations, vehicle-parts suppliers, or the local four-wheel-drive club. Other overlanders are the best source; they know which workshops solved their problems and which made them worse. Keep a list of recommended places and update it as you travel.
Describe the problem clearly, without assuming you know the cause. Show the mechanic the part or the area where the noise comes from. If language is a barrier, use diagrams or gestures. Watch the work if you can; it builds trust and you learn how the repair was done.
When to insist on genuine parts
Brake components, suspension bushes, and anything in the steering or transmission should be genuine or a recognised equivalent. Pattern parts for these systems vary in quality, and a failure can leave you stranded or cause an accident. For less critical items—exhaust clamps, filters, bulbs—a local part that fits will do.
Service intervals stretch or shrink depending on conditions
Manufacturer service intervals assume sealed roads and moderate loads. Off-road travel, high ambient temperatures, and heavy loads accelerate wear. Adjust the schedule to match what the vehicle is doing, and check more often than the handbook suggests.
| Condition | Effect on wear | Adjust interval |
|---|---|---|
| Dusty tracks | Air and fuel filters clog faster | Halve the filter change interval |
| High ambient temperature | Oil thins and coolant evaporates | Check levels weekly |
| Heavy continuous load | Transmission and differential oil degrade | Change oil at two-thirds of the normal interval |
| Water crossings | Water enters hubs and gearboxes through breathers | Drain and refill after deep crossings |
Keep a log of what you have checked and when. Record mileage, date, and any observations. The log helps you spot patterns and reminds you when the next check is due.
Know when a problem can wait and when it cannot
Not every fault needs immediate attention. A small oil leak, a worn wiper blade, or a loose trim piece can wait until the next town. A failing wheel bearing, a cracked brake hose, or a coolant leak that drops the level daily cannot. Distinguish between inconvenience and danger.
If the problem affects steering, braking, or the engine's ability to run, address it before moving on. If it is cosmetic, or if a temporary fix holds, continue to a place where you can repair it properly. Driving with a known fault that could leave you stranded in a remote area is a poor decision; stopping early to fix it is a better one.
A temporary repair buys time but is not a substitute for the real fix. A hose clamp over a split coolant pipe will hold for a few days; it will not last the rest of the trip. Plan the route to include a workshop where the permanent repair can be done, and do not assume the temporary fix will last longer than it should.
Adapt your expectations to the infrastructure available
Workshop facilities vary widely. Some places have diagnostic computers, hydraulic lifts, and a parts network; others have a concrete floor, hand tools, and the skill to improvise. What matters is that the mechanic understands the problem and can solve it with the resources at hand.
If the repair takes longer than expected, or if the part needed is not available, accept that the schedule will slip. Trying to rush a repair or insisting on a method the workshop cannot support leads to poor results. Let the work take the time it needs, and use the wait to rest, plan the next leg, or explore the area.
Pay fairly and on time. A mechanic who fixes your vehicle well is worth the fee, and a reputation for fairness opens doors. If the work was good, leave contact details so others can find the same help.
Download PDF: Expedition vehicle maintenance checklist PDF, 29 KB
Further reading
Frequently asked questions
How often should I check fluids on a long expedition?
Check engine oil every other refuelling stop and coolant, brake fluid, and power-steering fluid every few days. Dusty conditions and high loads mean more frequent checks than the handbook suggests.
What tools are essential for field repairs on an overland trip?
Bring spanners and sockets for every fastener, cable ties, hose clamps, self-amalgamating tape, spare bulbs, fuses, belts, a full-size spare wheel, and fluids. Add parts specific to your vehicle's known weaknesses.
How do I find a reliable mechanic in an unfamiliar place?
Ask at fuel stations, parts suppliers, or local four-wheel-drive clubs. Other overlanders are the best source of recommendations. Describe the problem clearly and watch the work if you can.